A lot of Sunshine Coast households assume TV antenna installation is a straightforward job. Mount it on the roof, plug in a cable, done. In reality, the difference between a properly installed antenna and one that was just put up comes down to picture quality, channel stability, and how long the whole system lasts before problems start.
At Brocky’s TV, we carry out professional TV antenna installation for homes across the Sunshine Coast every week. Here’s a full breakdown of what’s involved and why each step matters for your viewing experience.
Why TV Antenna Installation Is More Than Just Mounting Hardware
Australia completed its switchover from analogue to digital broadcasting in 2013. As Wikipedia’s overview of digital terrestrial television in Australia explains, Australian free-to-air television now broadcasts entirely in digital format using DVB-T standards, delivering high-definition picture and sound to every home with a properly installed antenna.
Digital signals are significantly more sensitive to installation quality than the old analogue system. With analogue, a poorly aligned antenna gave you a fuzzy picture. With digital, a poorly aligned antenna gives you pixelation, missing channels, or no picture at all. Getting the TV antenna installation right from the start is the only reliable path to consistent, clear reception.
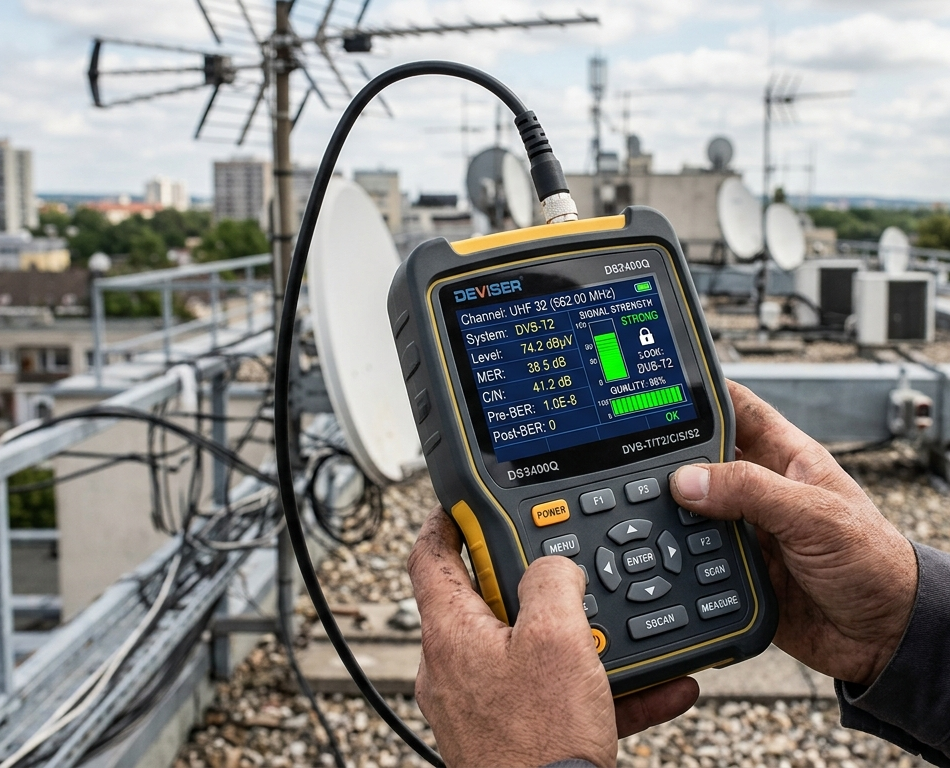
Step 1: Signal Assessment Before Anything Goes Up
Every professional TV antenna installation begins with a site assessment, not with a ladder on the roof. Our technicians use calibrated signal meters to measure broadcast signal strength and direction at your specific property before selecting equipment or choosing a mounting position.
What the assessment identifies:
- Which transmitter tower serves your location
- The direction and strength of available signal at your property
- Any terrain features, nearby structures, or vegetation affecting signal paths
- The optimal mounting height and position on your roof
- Whether your location requires a standard or high-gain antenna
The Sunshine Coast’s varied geography, from hilly hinterland areas to flat coastal suburbs, means signal conditions vary significantly between properties even within the same suburb. Skipping this step and guessing the antenna position is one of the most common causes of reception problems after installation.
Step 2: Selecting the Right Antenna for Your Location
Not every antenna suits every location. The right choice depends on your distance from the transmitter tower, local interference levels, the number of TVs in your home, and whether you’re in a strong or fringe reception area.
Key antenna selection factors:
- High-gain antennas for fringe reception areas further from transmitter towers
- Standard directional antennas for suburban locations with strong signal
- Wideband antennas for locations receiving signals from multiple towers
- Outdoor installation in virtually all cases for the strongest and most stable signal
As the ACMA’s TV reception guidance outlines, outdoor antennas consistently outperform indoor options for signal strength and reliability across Australian homes. For the Sunshine Coast specifically, outdoor installation is almost always the correct recommendation.
Our TV antenna booster service covers situations where the signal at your property needs amplification in addition to a quality antenna.
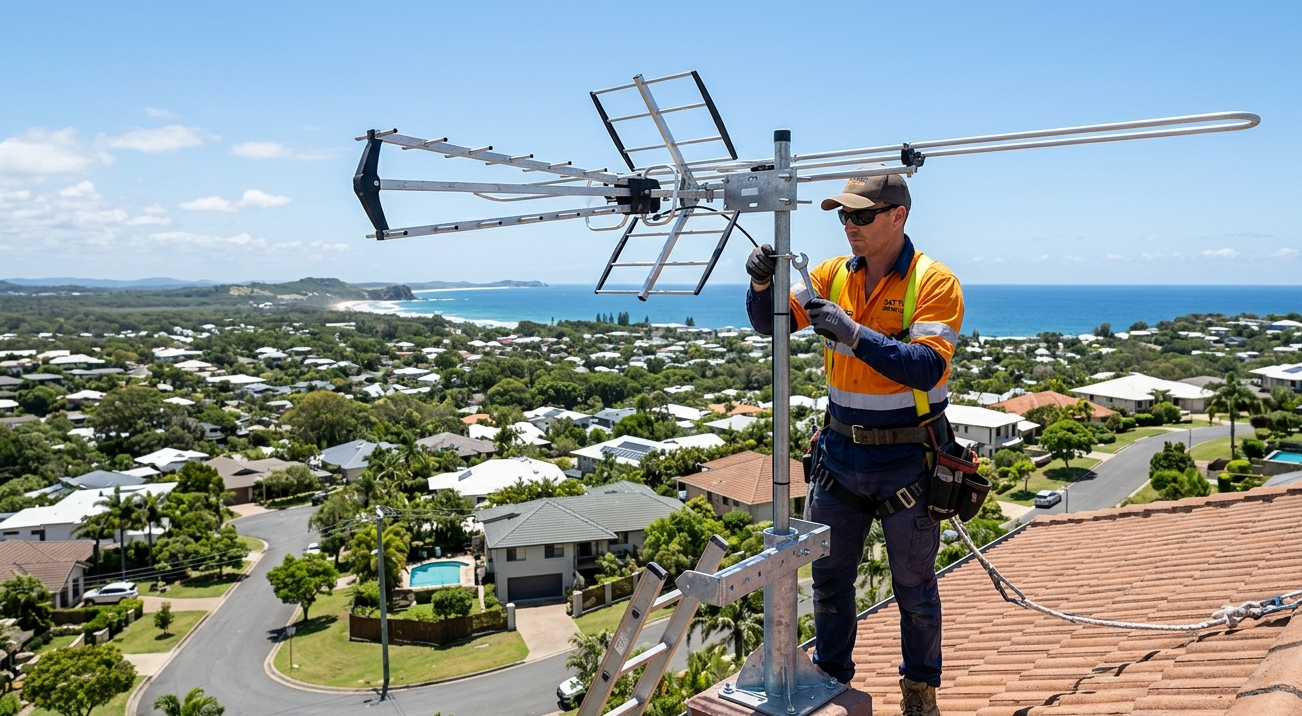
Step 3: Safe and Secure Roof Mounting
A quality TV antenna installation is one that stays in place and performs consistently through Queensland’s storm season, UV exposure, and coastal salt air. Bracket selection, roof structure, and mounting technique all affect long-term reliability.
What professional mounting involves:
- Assessing roof pitch, structure, and material before selecting mounting hardware
- Using corrosion-resistant stainless steel brackets and fixings suitable for coastal environments
- Positioning the antenna at the correct height for maximum signal clearance
- Ensuring all penetrations are properly sealed to prevent water ingress
- Complying with safe work practices for roof access throughout the job
Poor mounting is a common failure point in DIY installations. An antenna that shifts position in a storm requires the whole job to be redone.
Step 4: Quality Cabling and Connections
Even a perfectly positioned antenna delivers poor results if the cabling carrying the signal into your home is substandard or incorrectly installed. Cabling is one of the most overlooked elements of TV antenna installation, and one of the most consequential.
Professional cabling installation includes:
- High-grade shielded coaxial cable rated for outdoor use
- Weather-sealed outdoor connectors and entry points
- Clean, concealed cable runs where possible
- Proper wall plate terminations in each room
- Separation from power cabling to prevent interference
For older Sunshine Coast homes being upgraded, existing cabling is tested and replaced where signal loss is detected. Running a new antenna into aged or damaged cabling produces poor results regardless of how good the antenna is.
Step 5: Multi-Room Distribution
Homes with multiple televisions need their antenna signal distributed correctly. Every time signal is split to feed an additional TV point, signal strength is reduced. Without proper distribution hardware, some TVs will receive weaker signal than others.
Professional distribution involves:
- Calculating signal levels across all TV points before choosing splitter or amplifier specifications
- Installing a correctly sized distribution amplifier to compensate for signal splitting losses
- Testing each TV point individually after installation to confirm consistent performance
- Avoiding over-amplification, which causes as many problems as under-amplification
Step 6: Tuning and Final Testing
TV antenna installation isn’t complete until every TV in the home is tuned and tested. This isn’t simply running an auto-scan. It involves fine adjustments to antenna direction based on actual channel signal quality, scanning for all available channels, removing duplicate or unstable entries, and confirming stable reception across all channels before the job is signed off.
If you’re not sure whether your current antenna is due for replacement or assessment, our blog on signs you need a new TV antenna covers the key warning signs to watch for.
Why Professional TV Antenna Installation Pays for Itself
Attempting TV antenna installation without proper equipment, training, and signal testing frequently results in poor reception, repeated callouts to fix ongoing problems, or safety incidents from unsafe roof access. The cost of getting it wrong almost always exceeds the cost of getting it done professionally from the start.
See what other Sunshine Coast households think of our work by checking our what our customers say before you book.
Explore our full range of antenna, home theatre, TV mounting, and WiFi services at Brocky’s TV.
Call us on 1800 588 688 or 07 54 511 886, Monday to Friday during business hours.
Contact us today to book your TV antenna installation or get a no-obligation quote across the Sunshine Coast.
FAQs
1. How long does a professional TV antenna installation take?
Most residential installations are completed within one to three hours, depending on roof access, cabling requirements, and the number of TV points being connected.
2. Is outdoor TV antenna installation always better than indoor?
Yes, in virtually all cases. Outdoor antennas deliver stronger, more stable signals and are not affected by building materials blocking signal. Indoor antennas are a compromise that rarely delivers consistent results on the Sunshine Coast.
3. What affects the cost of TV antenna installation?
Key factors include the antenna type required for your location, roof access complexity, cabling length and condition, the number of TV points being connected, and whether a signal booster or distribution amplifier is needed.
4. Can my existing antenna cabling be reused for a new installation?
Sometimes. We test existing cabling during the assessment and advise honestly. Aged, damaged, or substandard cabling is replaced as part of the installation to ensure the best possible signal quality.
5. Why do I get some channels but not others after installation?
This usually indicates the antenna isn’t optimally aligned for all available frequencies, or that certain channels require a specific transmitter direction. Professional fine-tuning resolves this in most cases.